How to do it step by step
1st Step:
Initial orientation
Visit the museum you will be working with and get an overview of the exhibition.
2nd Step:
Content selection
Conjointly choose the object and topic you want to work with. The form of each tool depends very much on the specific museum you choose and its individual objects. Possible types of exhibits that could be connected to this development topic include children's issues, toys, the everyday lives of children or, alternatively, issues related to science or general knowledge.
Try to create a comprehensible and clear connection to the existing objects.
→ Try to stick as closely as possible to the thematic focus of the object you want to work with. Make connections to the region, the actors involved and the style of storytelling used in the object.
Choose an aspect of the topic that is both complex enough and well-defined enough. Do you want to offer an overview of progress on education worldwide? Or would you prefer to concentrate on a certain part of the story? If so, which part?
Develop interesting methods for implementing your idea. Check how much space will be available at the museum, what technical facilities the museum can offer, which target group you want to address and how much money you have to invest.
→ Think small, start small. During the implementation process, new ideas will arise, so be prepared to hold back some money to invest later on!
3rd Step:
Work plan
Develop a first draft of your idea, bringing together your ideas with those of your partners. This draft should already include a budget plan so that you can assess the feasibility of your idea. It should also include an implementation schedule. Produce a draft that everyone agrees with and send it to all partners.
4th Step:
Subcontractors
Ask for quotes for every stage of production. Try to get several quotes for each stage so that you can choose the best offer. Try to get recommendations on subcontractors that have already worked in museums. Add up the quotes, compare the total with your budget plan and adjust it, if necessary. Choose your working partners.
5th Step:
Start collecting
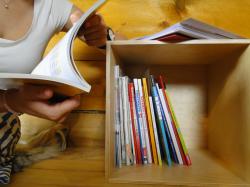
Collecting is the key activity for this tool. You will need books and photographs. We asked friends, colleagues and language students to buy new or second-hand schoolbooks wherever they travelled. Do not forget to ask for receipts whenever possible. This makes it easier to give refunds, as well as providing an interesting opportunity to see the prices of schoolbooks in different countries, which also sheds further light on access to education around the world.
Think also about the photographs that you need. In our case, we decided to focus on Mali, Papua New Guinea and Morocco, since these countries figure prominently in the permanent exhibition. Ask NGOs focused on educational projects for photos or, otherwise, you may rely again on friends and colleagues. Everyone we asked for help was happy to provide it. They liked the project and liked the idea of taking photos and buying books very much, since it took them to places they would not have seen otherwise. Bear in mind that collecting is a time-consuming process.
6th Step:
Content creation
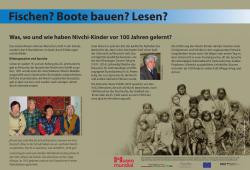
Compose and write down the content for the information panel and the book. In order to produce a strong and logical link to the exhibition, we researched the state of education for Siberian minorities over the course of Soviet history.
Ask your partners to proofread this first version so that you can clarify any misunderstandings at an early stage.
7th Step:
Graphic material
Choose pictures and graphics that reinforce the content. Ask the copyright owners if you can use their material for educational purposes. In some cases, you might have to pay for the use of this material.
There are many new, interesting and effective infographics produced by UNESCO. The Paris bureau is responsible for granting permission to reprint and to translate it. It is advisable to call them rather than wait for answers via the contact form on the UNESCO website. Permission is usually granted.
8th Step:
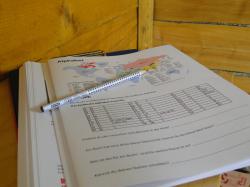
Testing the alphabet worksheet
Ask your colleagues and their children to test the worksheet. Is it clear enough for visitors to know what to do? Is it interesting enough for them to feel inspired to try writing for themselves?
9th Step:
Finalizing the installation
Finalize the information panel, book and worksheet. Ask your partners to do the final proofreading. Pay a professional proofreader if you have allowed for this in your budget plan. Send this concept to the designer.
Correction loops: Several correction cycles will make the final product look more professional. Ask the designer for two or three checks.
→ Identify the representatives from the museum that need to give their blessing to the final product. Try to keep this circle small to save time. Ensure the correction process is transparent to all actors involved.
10th Step:
Installing the object in the museum
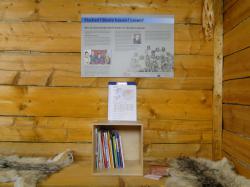
Fix the information panel, set up the box and fill it with books.
You will almost certainly "lose" some books. Make a list of them in order to keep track of any losses. Books that were especially difficult to obtain (reading books from Mali in our case) should not be left in the installation, but rather only be taken out for education programmes.


